
.jpeg)

.svg)

Offline is dead. Viva online. Long are gone the days of the dominance of offline shopping. To keep up with the pace of the digital era, players big and small have to re-group, re-invent, re-educate themselves. Just to stay relevant. Just to stay afloat.
Billions of people are scrolling through online stores catalogs right now. Just to see if anything interesting will catch their eyes. Statista estimates the retail e-commerce sales to boom from $2842 billion worldwide in 2018 to $3453 billion (!) by the end of 2019.
Product photography acquired a new level of significance, as the easiest way to reach, attract, and engage clients in the e-commerce domain. In this image-saturated era, basic product photography standards have risen through an abundance of image-editing tools, filters, affordability of cameras and, naturally, through the popularity of Instagram. The basics of the marketing state, that Content is King.
Studies show that product photography is now impacting sales at the scale significantly. Visual content is in a position to make it or break it for your sales & marketing.
The overall brand image depends on product shots — crisp and clean images help to create the same vibe for the whole brand. Moreover, product photography is also in a position to keep your return rates at the bait.
22% of the returns mention, that product displayed on website and product arrived have appearance difference. All entrepreneurs know that a returned item is more than just an unsold item, it’s extra delivery expenses, customer service time wasted and — worst of all — poor online reputation.
Coming from a team of photography enthusiasts, who are religious about product photography, we keep noticing the same mistakes in numerous e-commerce product images. However basic those mistakes may seem, they still have an impact on customers. And ignoring these mistakes may result in your potential customers ignoring your products.
At Squareshot, we love people who create brands. We respect them. And we want them to get the attention they (and their products) are worth. You run the show. The world revolves around great products — and you are the creator of them.
This 7-minutes read will be useful for those on a tight marketing budget trying to DIY all the product photos for their collection or for those commissioning this work to professionals but wanting to know what to look for while appreciating the output.
11 don’ts of the product photography that will boost your e-commerce sales, when avoided.
1. Don’t be content with just 1 image of the item. Shoot for 2-5 shots.
Having 3-5 shots per item is ideal in fact – as allows to turn an e-commerce user into a client with much higher probability.
The closer the product is to premium pricing - more images per item would be expected. Of course, we are not talking about an overkill of more than a dozen images of one piece, but 3-5 are just a client’s expectation really.
With handmade pieces, you want to make sure to take a couple of close-ups of the details — like a slight imperfection of the hand-stitched seam of an artisanal blouse. Or maybe catch a close up on handyman’s hands in action: be it a potter working on the potter’s wheel or a hat designer attaching the final piece to a wedding hat.
Differently angled — from the front, back or side view; full size or close-ups; isolated or against other objects; lay flat or on a ghost mannequin; whatever the concept — don’t be content with 1 image per item.
It is reported that 1/3 of all surveyed shoppers would like to see more than 1 image per product. Once you have done all the preparation, making another shot or two at a different angle is not a big deal after all.
2. Retouching in product photography: not the time to save budgets.
Retouching is an important stage of the product photography session, that may uplift the poorly done images or vice versa ruin a great original image by overdoing it. Even the best retouching will not make the poorly done images great though, but some of the imperfections may indeed be corrected during the process.

The major 2 mistakes we have witnessed pros and amateurs alike are prone to: using too much retouching or doing it poorly. Badly edited images, as well as overly-retouched ones, are equally damaging and make the result look unnatural and unattractive, ultimately bringing your sales down.
3. Don’t underestimate background. It makes your product stand out and your retouching easier.
In the absence of professional equipment, ideally, you will have bought a piece of white vinyl or plastic in your nearest hardware store to use as a background. The thin sheet of flexible yet sturdy white material can be easily fixed to a table with 2 clips with the other end of it placed against a wall – so to create a seamless background.
Check out this video providing straightforward and quick guidance re: setting up the background for product photography.

In most cases all the product shots are taken against the white /and we mean #FFFFFF white/ background - the industry standard, that is a default setting with Amazon & Shopify.
For more creative shootings colored or black backgrounds could be a solution, but those definitely require more skills in terms of lighting set up and retouching, so best left to professionals.
4. Don’t take light lightly. It’s a shadowy business.
Proper light in product photography is what alcohol is to a successful party: if you provide too little of it - everybody is going to be sulky and dull if you provide too much of it – things may go wrong in an endless array of ways.
When you talk about professional photography – you speak of expensive equipment. When you talk expensive photography equipment – you talk cameras and lenses of course – but you also talk lightning. Like a lot. Of. Expensive lightning. There is front and back lighting, overhead and side lighting as well as a flashlight and fill lights too. And then there are reflectors. And softboxes.
Is this possible to create a decent shot without all that professional equipment? Indeed, it is. But you have to make the best of the natural light and a couple of table lamp stands with adjustable gooseneck – so you can experiment and get the best focus on your photographed object. Getting a DIY softbox created is also a must to diffuse the light.

The intensity of light, temperature and its tone all contribute to the final result, providing depth and volume to the product as well as impacting the color hue. In view of the absence of professional lightning two major factors should be considered: take lots of test shots with different angles of front light, side light, reflectors and diffusers; once you find the best combo of light source location and intensity, keep doing entire series with the same outlay for consistency of resulting imagery.
5. Saving on the tripod may backfire. Ready, steady, shoot.
In most cases product photography is done for a series of items, that is to be displayed on the same e-commerce website. So consistency of photography from item to item is very important. You want your objects to be placed in the same spot against background and your camera at the same distance from your “model”.

Using a tripod gives your session the level of consistency one cannot achieve without it. No unwanted blurring, no jumping around of the product from image to image. A new tripod starts at $25 and will serve for years.
Achieving a wide depth of field is crucial for that focused sharp image and stabilized camera, low aperture and slow shutter speed are the ways to obtain this result.
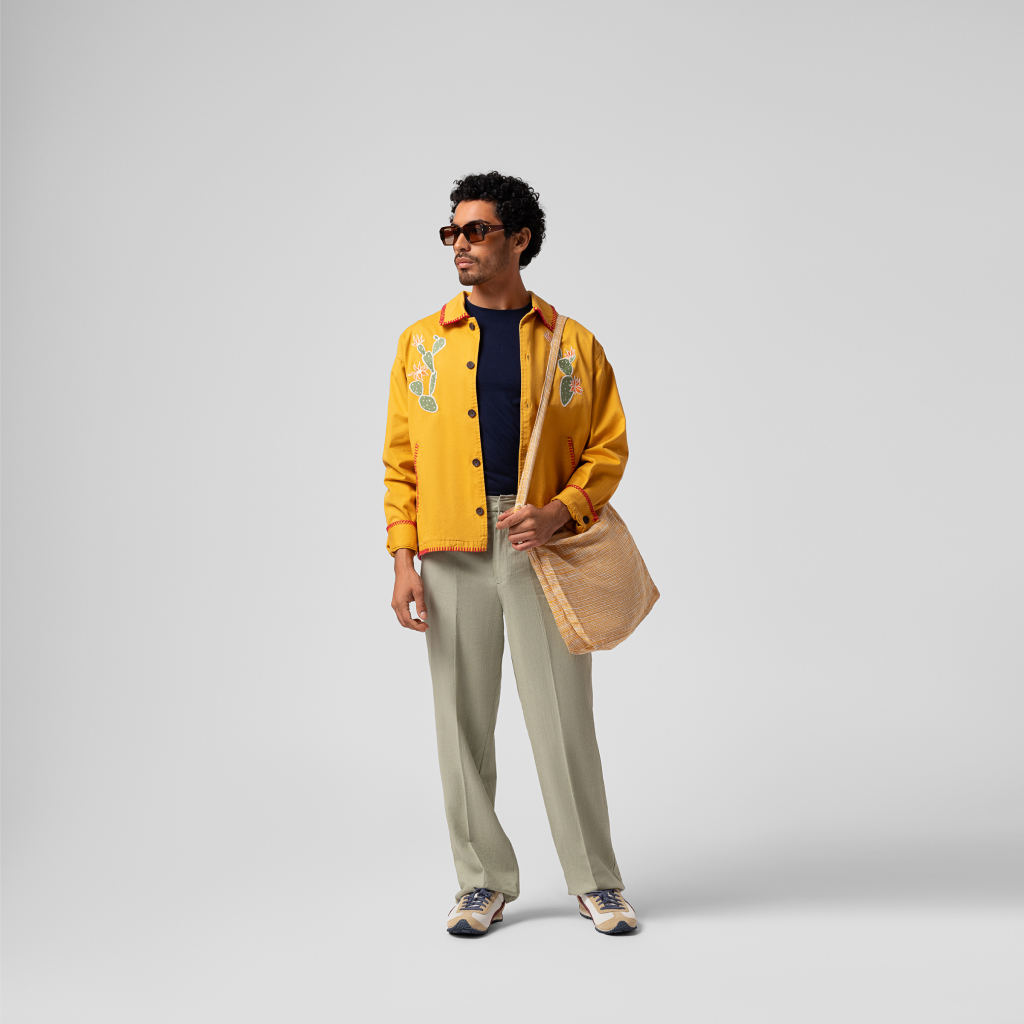
6. Using overpowering models. Stay focused on the product.
Product photography with models is a segment in its own right with a thick manual of its own rules.
The major rules for models photosets are:
- Make sure the model is the right match to your target audience, don’t choose a model based exclusively on good looks. You don’t want your model to overpower your product. Making sure the model is complementing the product is vital.
- A model has to look natural and think twice whether you need that fixated smile on the face – akin to stock photography, fake smiles have seen their best times and a calm relaxed expression might do more good for your sales.
- “Product first model second” is the mantra for both the model and the photographer before and during the shoot. Don’t allow the model to dominate over the product – visually and mood-wise.
- Make sure you shoot at an eye-level, as images taken from below or above model’s eye level appear unnatural and distorted.
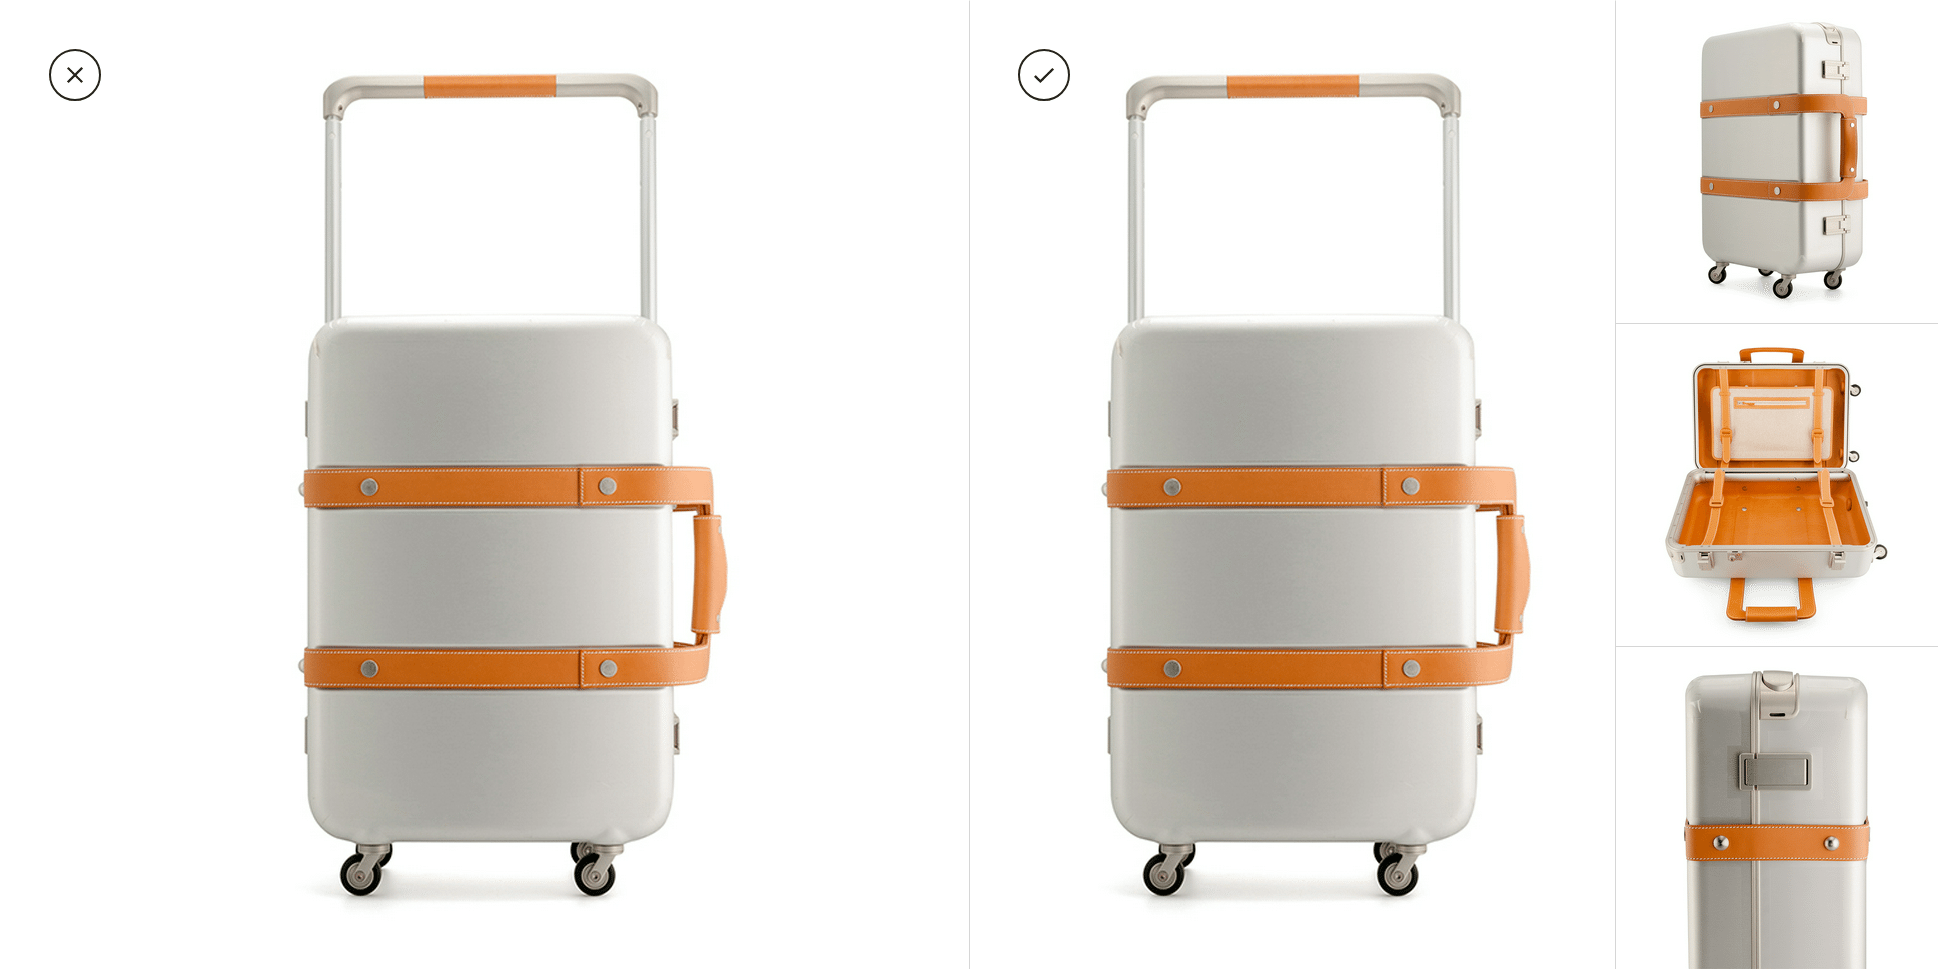
7. Getting too creative with angles and product positioning.
Trying too hard is a bit of a verdict in itself. If your mission is to provide a true-to-life portrayal of an object, make sure you do exactly that. While product photography for social media might involve some of the creative spicing to it, images for the online store are best left just realistic without much of a creative twist.
Front shot, back shot and a 45-degree one will be enough to reveal all the necessary detailing for a customer to make an informed decision. The 45-degree shot is the most appealing so might as well be used as a hero image throughout the entire collection.
.png)
Close-ups of some design nuances are a perfect bonus as well as 360-degree product photography. But for an e-commerce store with average check in the range of up to $50 the classical trio will do just fine. Any extra creativity with funny angles would usually look bizarre and bring inconsistency to the entire series – as hard to copy from one product image to another.
8. The deadly sin of product photography: too much or too little exposure.
You might be a rookie or a beginner. But if we talk about your brand’s product photos – this one is a must to grasp: how to tame your exposure. Both of the crimes are similarly severe: to have an overexposed image or an under-exposed one. So ignoring this is a red flag, that will reflect in the results, hence, on your sales too.


The subject matter is rather complex and takes quite some experimenting. The author of the book “Stunning Digital Photography” has made a great video on the topic of how to use shutter speed, aperture and ISO in order to be able to gain just the right amount of exposure for your image.
9. Too many props steal from your product, not add to it.
In the era of Instagram, we have all seen too many crowded and overcrowded photo compositions, where it is difficult to distinguish between what’s background, what’s in focus, what’s the prop, what’s the product sold to us.
If the prop is taking away the focus from the object you are trying to sell – don’t use it. If the prop brings no additional value – don’t use it. If the prop is competing for attending with your product – using it is not a good idea either.
For the purpose of an e-commerce store product photography a white background and the product are a picture perfect, that lets your customers learn about the product without distractions and make an informed decision while remaining focused on the matter.
10. Using low-resolution images will lower visual appeal & sales.
High-resolution images are more appealing to the eye. They look more professional compared to low-res. They provide more clarity, detail and are a better, more realistic depiction of a product. They convert better.

A low res image of a $10K Swiss watch will make that watch look cheap. A high res image of a $10 watch will make that watch look times more expensive than it really is.
Recommended minimum resolution is 1200px x 1200px. Looking for the easiest way to make your mass market products looking good? Make sure you have professionally looking images in high resolution.
11. Don’t accept the subpar work, even if it was you who created it.
Sounds pretty obvious right? But not too easy to comply with in fact.
You have put your heart and soul into those images, how could they be bad after all that? Pick a website of a competitor, whose imagery you love before you start. If your DIY product images don’t look close to that, however hard you tried – don’t use them.
After all, if there is one single factor that can impact your sales negatively right away – this is blurry images at wrong angles with long shadows. Professionally done imagery helps to capture the attention, helps to convey the story of the product, to convince, and to sustain the target audience.
Great product photography is the investment with the highest ROI and saving no business can afford. Our clients re-affirm this truth every day. We hope that our expert tips will help understand not only the mistakes themselves but the cost, that those mistakes carry with them.
After all, professionally executed product photography has the power of making even the smallest business look big and solid.


RELEASE SOON?
Product A
SQUARE SHOT


